Learn how to create or import employees into your organization. This is a required step to assign them to schedules or projects in Civalgo - whether or not they will be invited to use the platform.
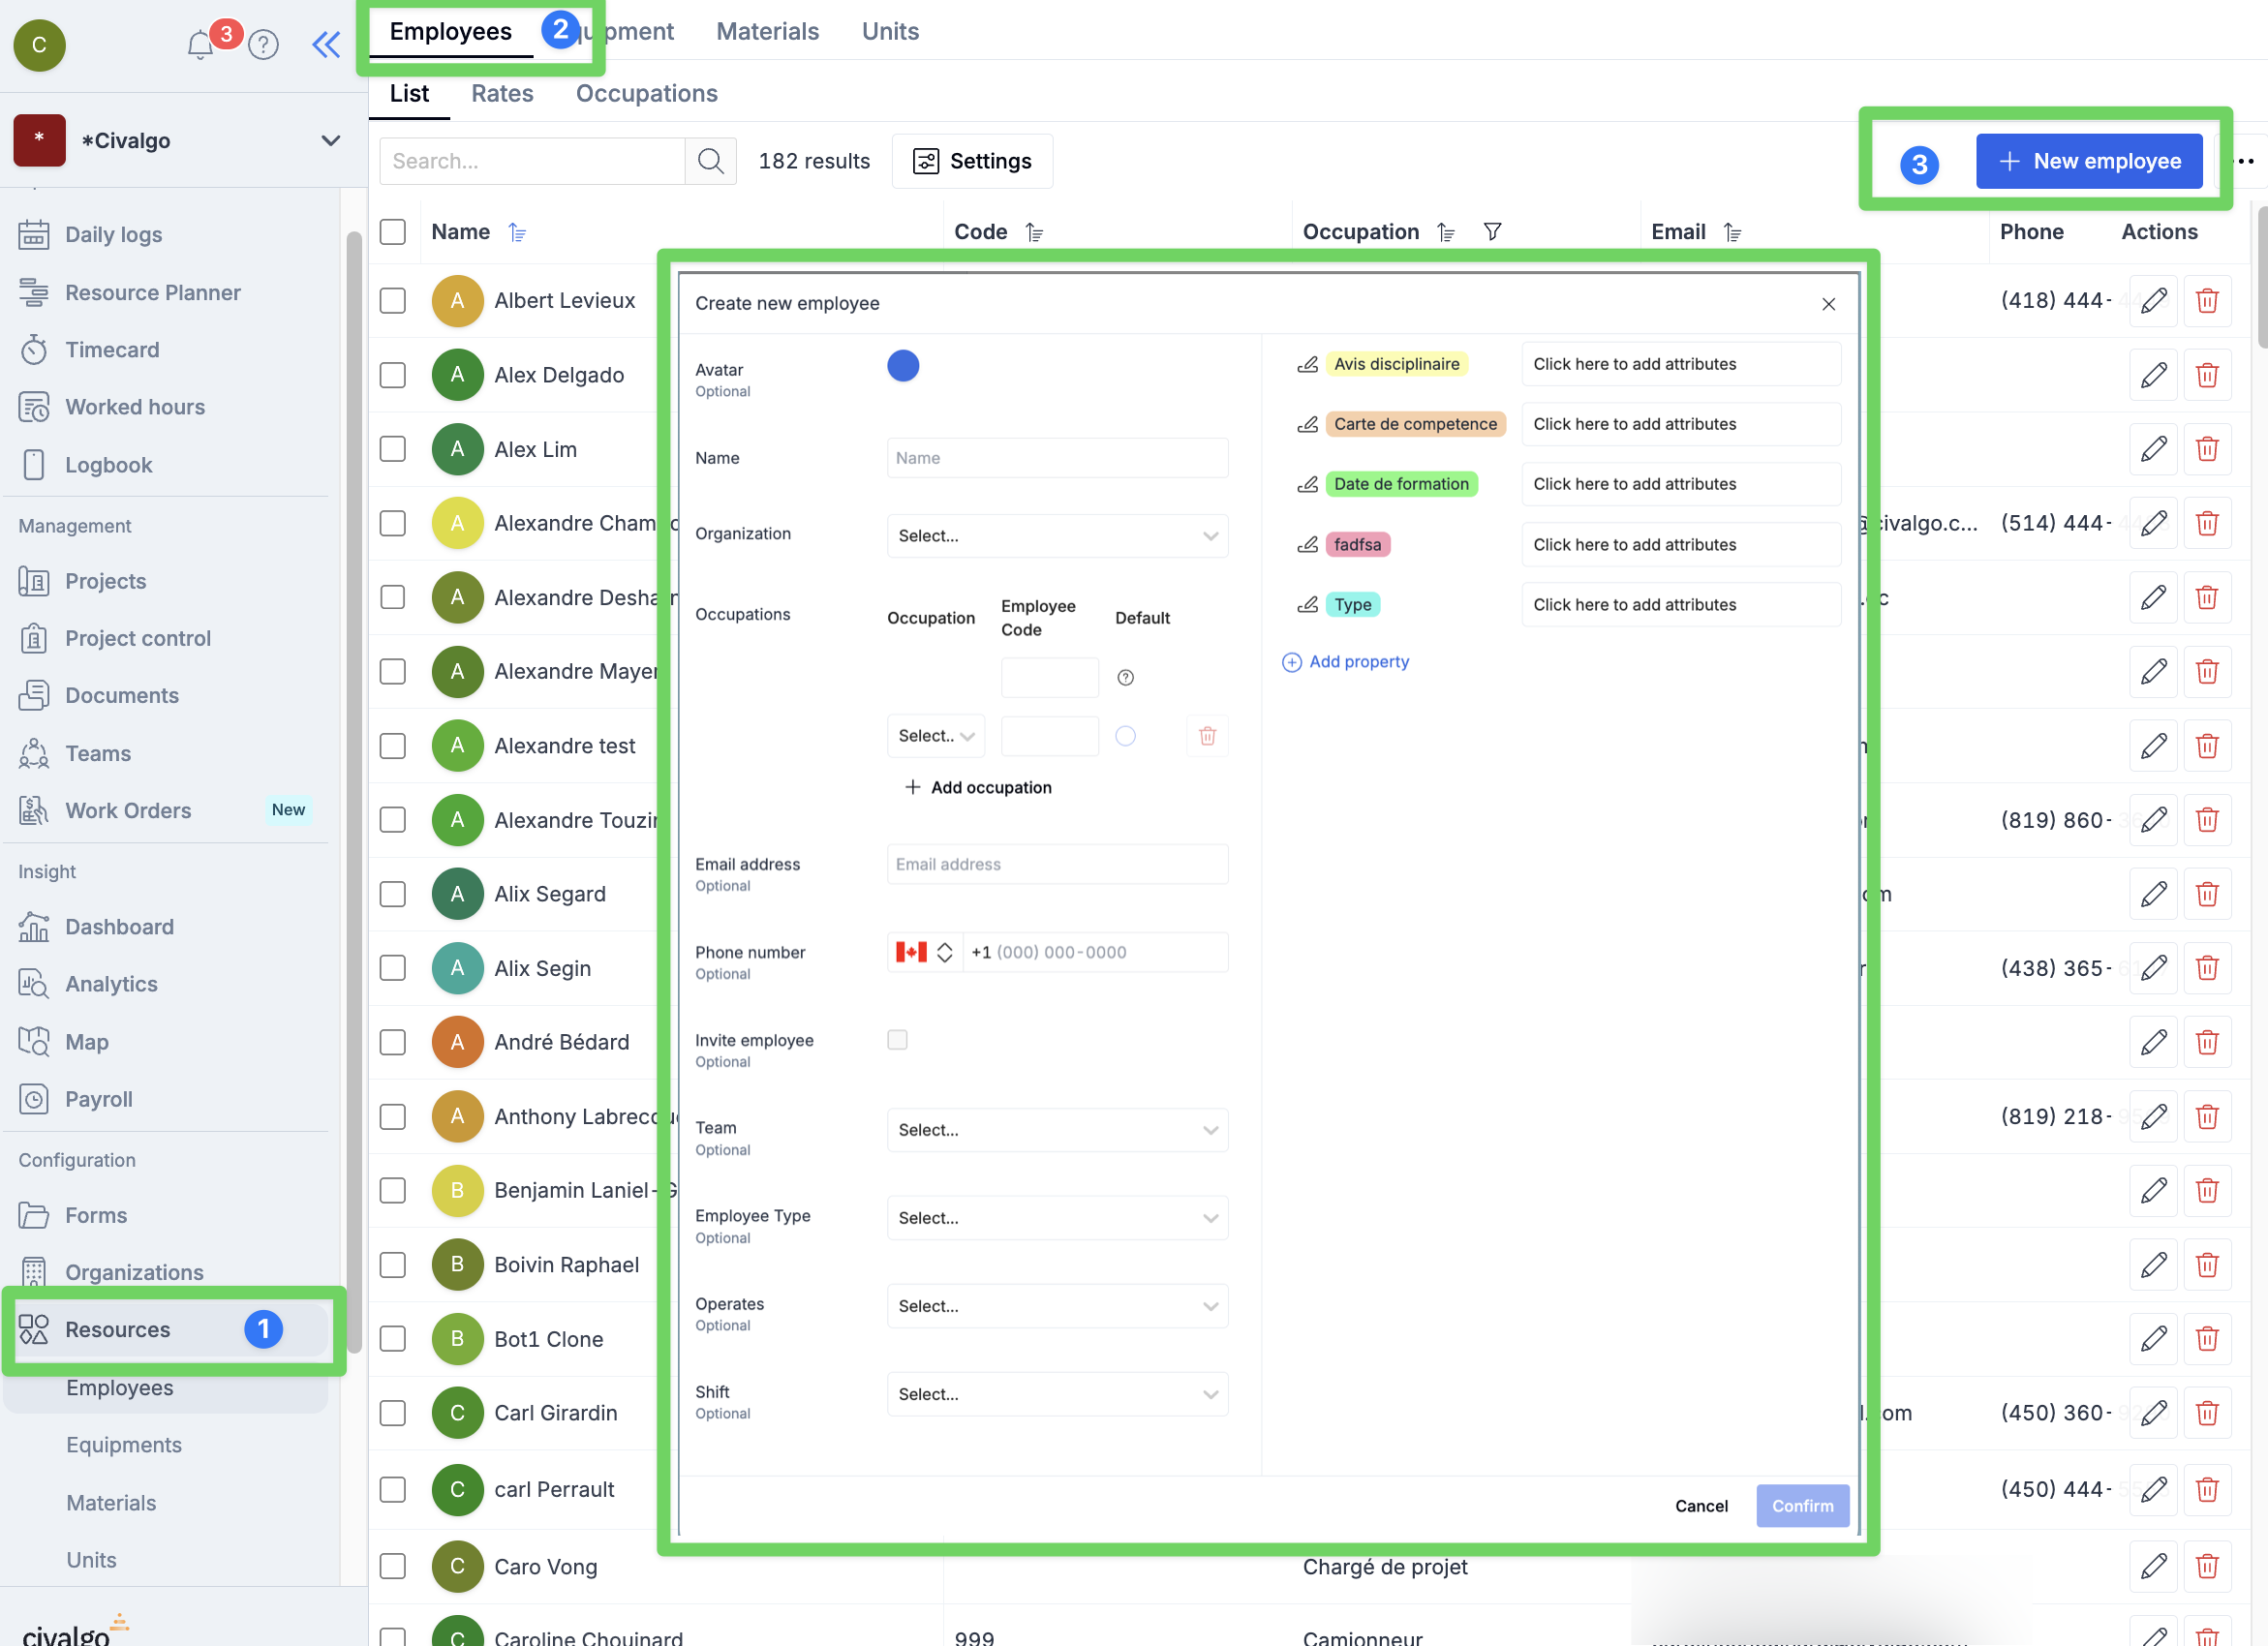
Name: Used to identify the employee when selecting them from a list.
Code (optional): A unique internal ID for the employee.
Occupation: Used to automatically assign costs based on the employee’s occupation.
Email Address (optional): Needed if you want to invite this person as a platform user
Phone Number (optional): Needed if you want to invite this person as a platform user. Also enables sending SMS messages to the employee.
Organization: Used for cost tracking and to classify the employee as an internal or external resource.
Team (optional): Automatically assigns the employee to a daily log based on their team.
Operates (optional): Most commonly used equipment by this employee. Auto-added to daily logs when assigned.
Shift (optional): The employee’s default shift.
If the team has a shift assigned, it will apply to all team members by default in the daily log.
However, if the employee always works a different shift (regardless of the project), you can define it here — it will be auto-assigned whenever they’re added to a daily log.
Properties (optional): Custom fields to store extra employee details
Step 3 – Click Confirm to save
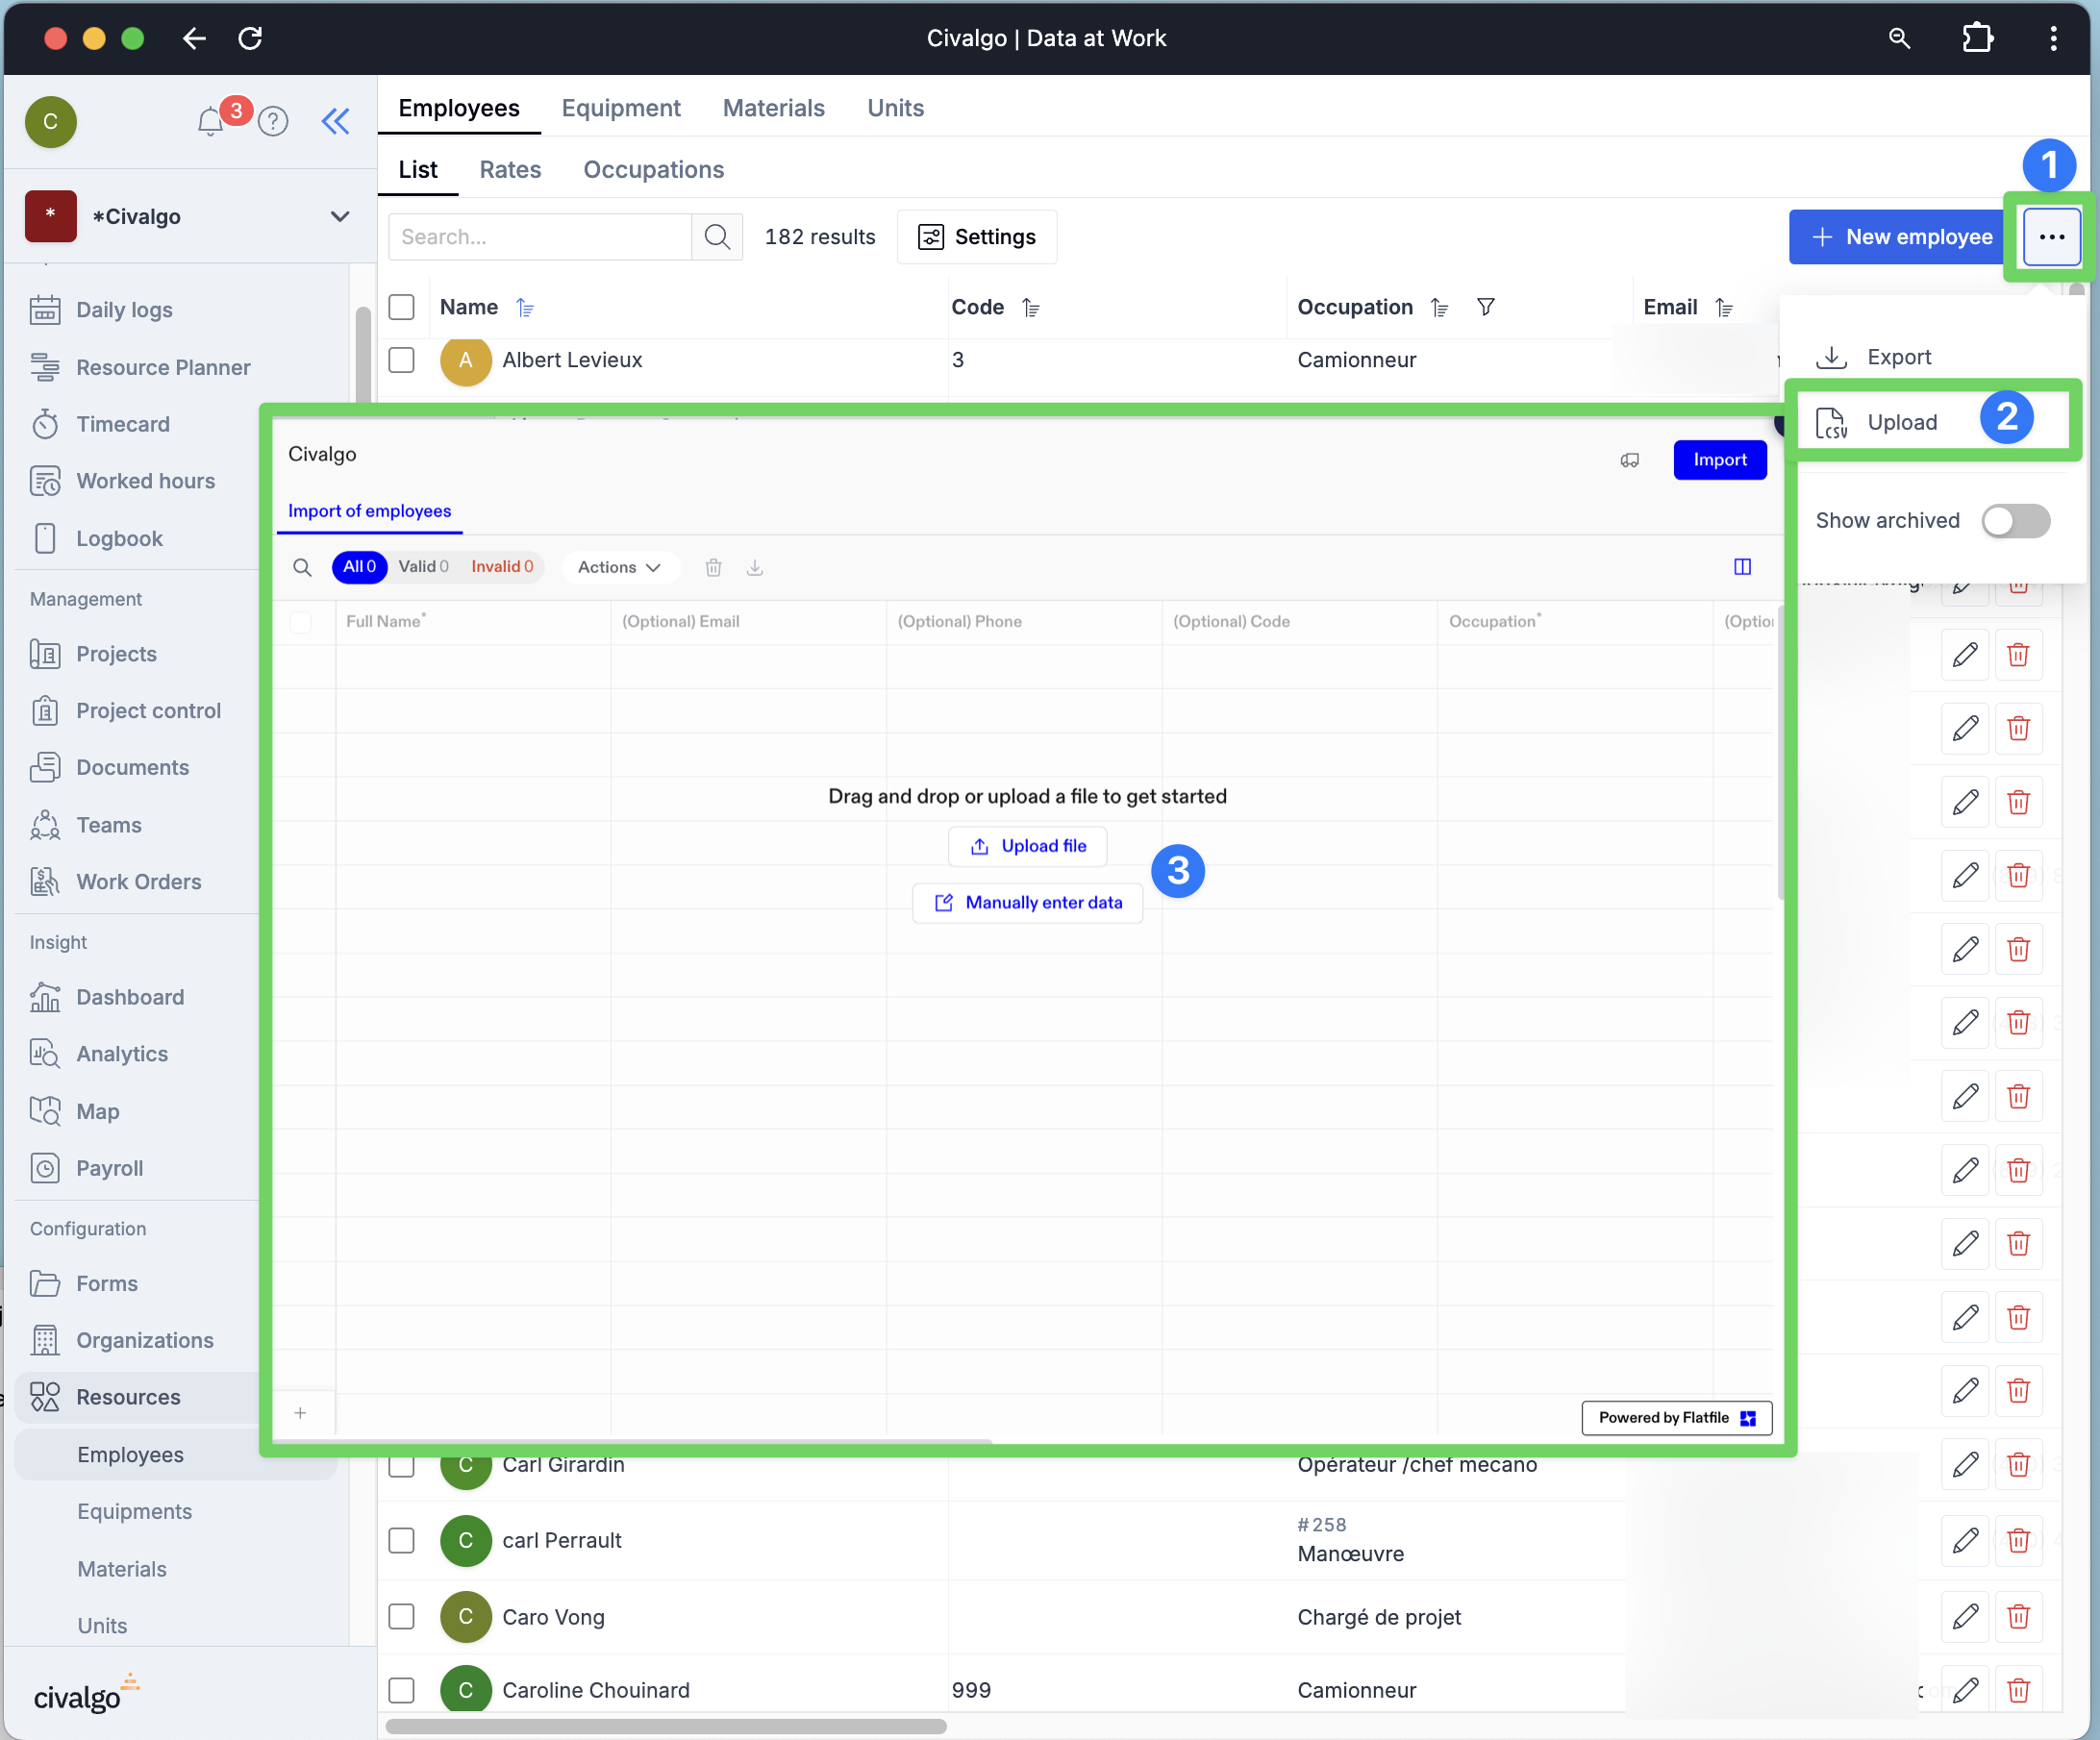
Import Multiple Employees
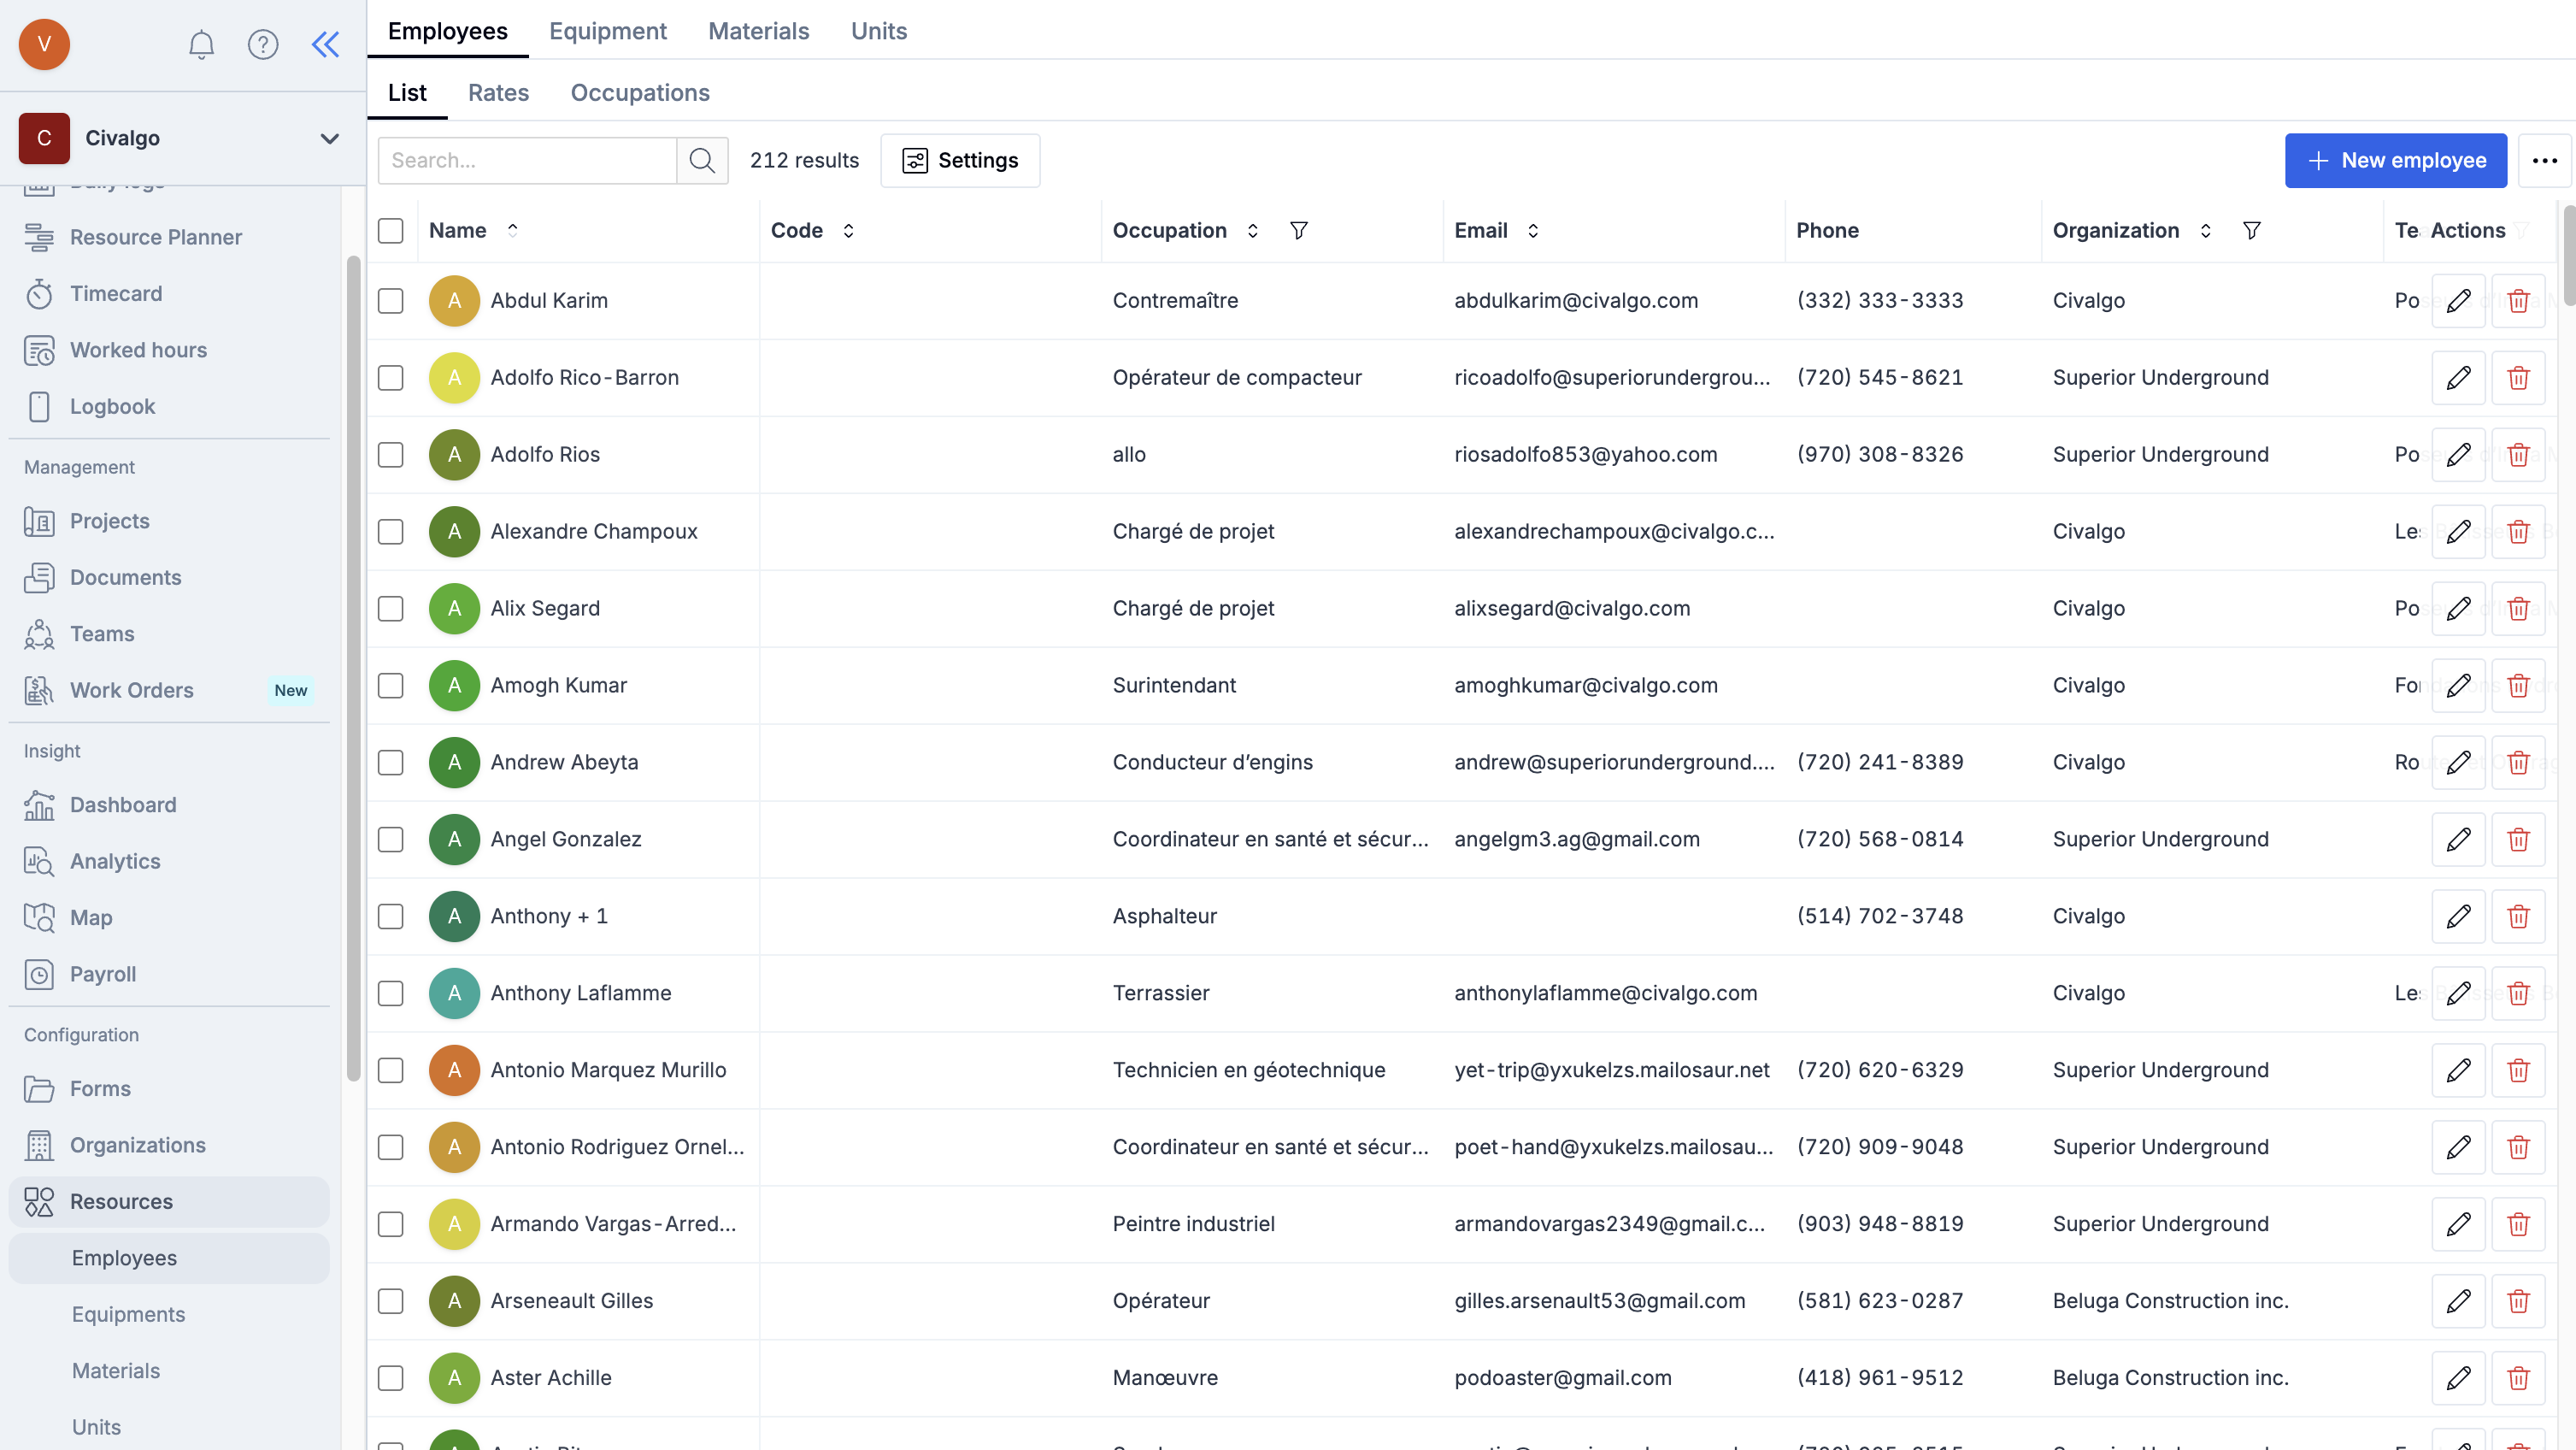
Step 1 – Go to the Employees page
Click the Options button (top right), then select Import
Step 2 – Upload or paste employee data
Upload a file in .CSV format
→ You’ll be asked to match your file’s columns with the system’s fields
Or, paste data manually from Excel using the same column structure
.svg)